Take the below steps to create a Presto Live Booking link as a standalone option.
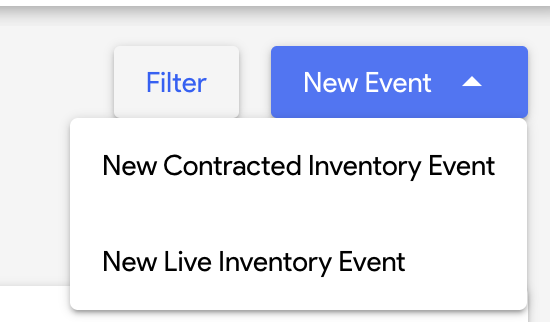
1. Click the dropdown on the blue button labeled "New Event" and select "New Live Inventory Event".
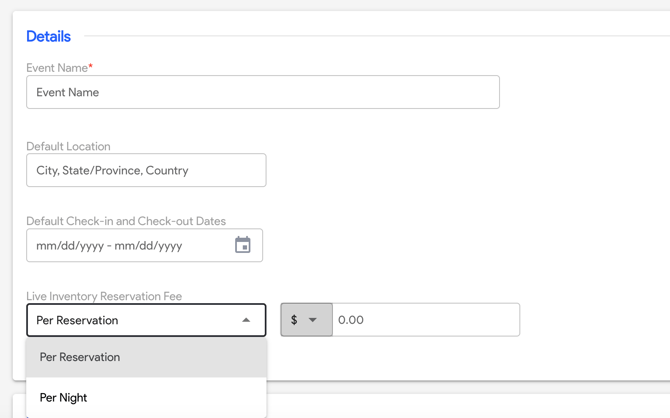
2. Fill in your event details.
- Required Fields
- Event Name
- Optional Fields
- Default Location - This can be a specific address or you can enter the city where the event is taking place. If you do not set a default location, guests can enter an address or city where they are looking to stay.
- Check in/check out default dates - This will be the default check in and check out date shown on the booking site. Guests can increase or decrease their dates of stay when they use the search function.
- Live Inventory Reservation Fee - This fee will be charged at the time of booking. If you wish to impose additional charges, such as a fee per reservation or per room night, make your selections. Alternatively, enter 0.00 if you prefer not to charge any extra fees.
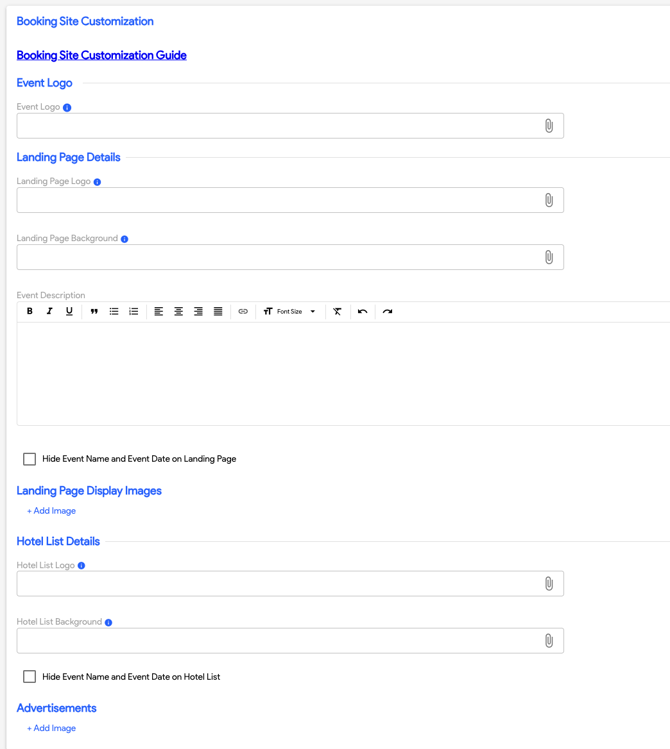
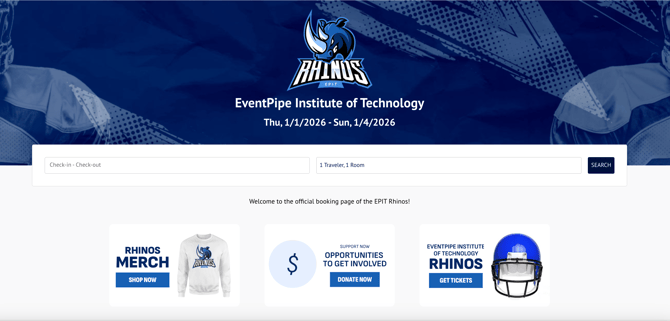
3. Customize your booking site using the Booking Site Customization Guide. These images can be uploaded from your computer using the browse feature.
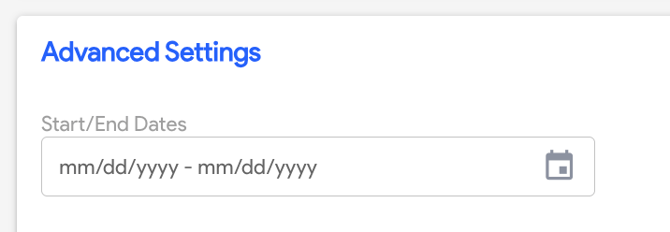
4. Advanced Settings
If your event has a start and end date, you can enter this in the advanced settings section. This will show on the booking page and will also pull on reporting.
5. Click the blue button labeled "save changes" in the top right corner when you are finished.

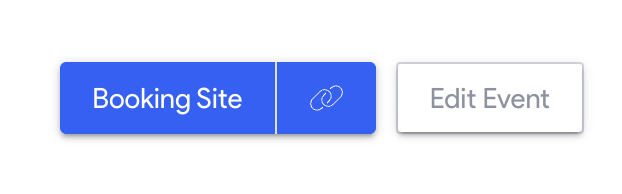
Once complete, you will be able to access your booking site at any time through the blue button labeled "booking site".
You can also edit your event at any time by using the "edit" button in the top right corner.
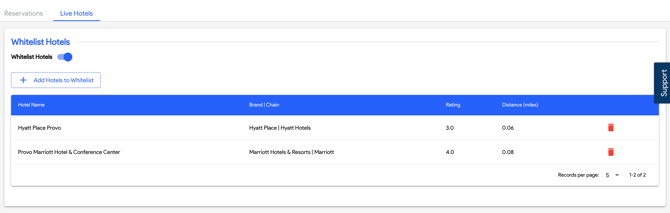
6. Optional: Whitelisting Hotels
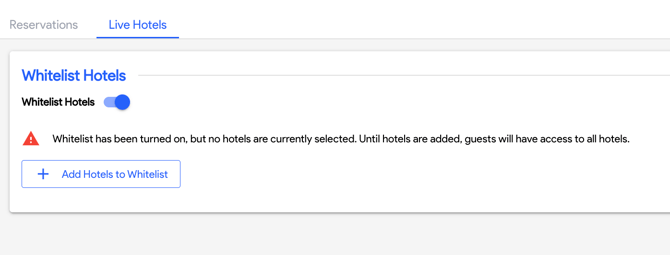
You can choose a select list of hotels to appear, or omit hotels from the booking site. To do this, click on the tab labeled "live hotels" and follow the steps below.
- Toggle on "whitelist hotels" and click "add hotels to whitelist".
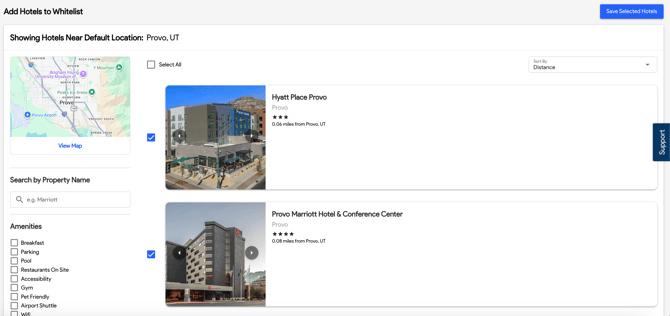
- To show a select list of hotels: Click the check box next to each hotel you want to display on the booking site. You can use the distance filter to select how far out you'd like to go. Once the list of hotels you'd like to display is complete, click "save selected hotels".

- Please note - This function cannot be used to sort hotels. Any hotels not selected during this process will not show on the booking site. If you only select one hotel, the group can only choose from availability at that hotel and other options will not appear.
- To hide hotels from the booking site: Uncheck any hotels you do not want to show on the booking site. Any hotels that remain checked will show on the booking site.
Once saved, you can review and manage which hotels are showing on the booking site through the live hotels tab.
7. You will see reservations appear in the event once they start to trickle in. You can export this information at any time by clicking "export" in the top right corner.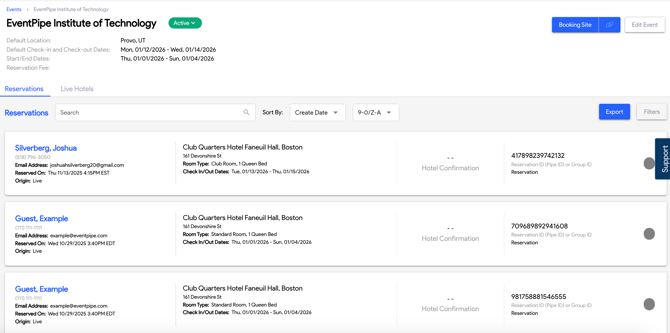
To access your reporting in PipeSights, please reach out to your Customer Success Manager for a log in and more information.